 |
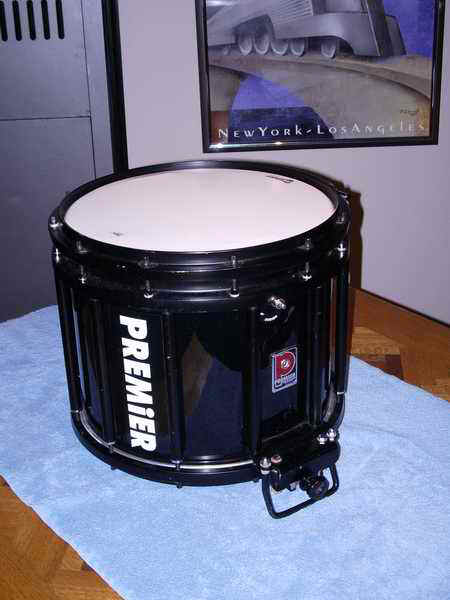
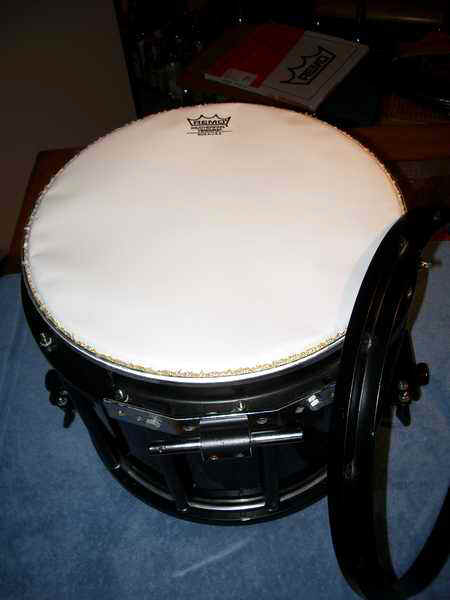
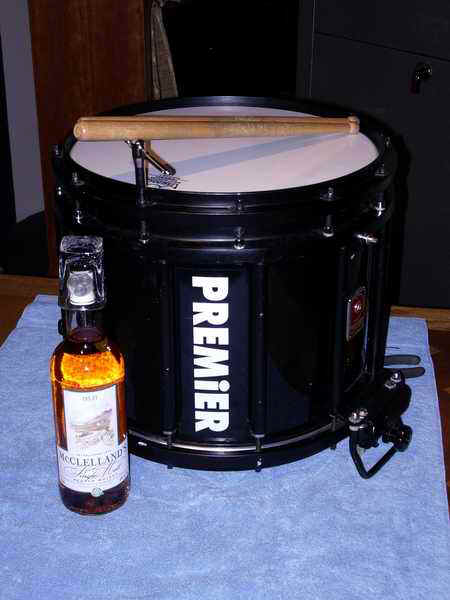
This is my band issue drum. Pretty basic stuff, Premier 200. The band bought several of them at a second hand sale. Don't think they make these any more, but you see a lot of them in starter bands like the ones I'm in.
|
||||||||||||||||||||||||||
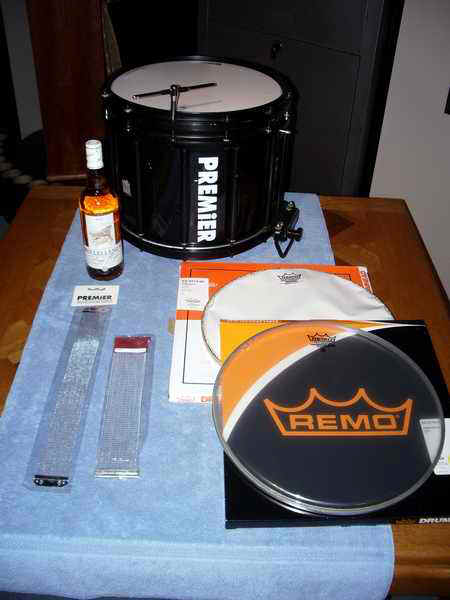 |
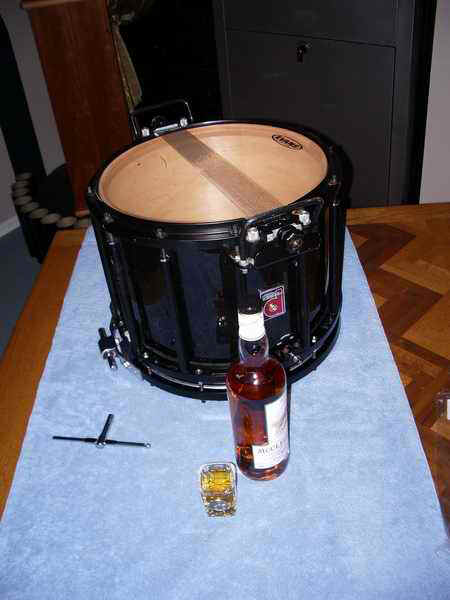
Collect the items you need:
Single malt optional...I suppose. |
||||||||||||||||||||||||||
 |
Removing the old head:
If the head is stuck in the rim:
|
||||||||||||||||||||||||||
 |
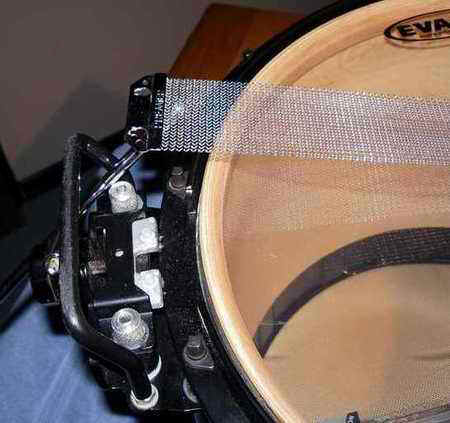
The top snare should slide off to the left or right.
You may need to loosen the tension a bit more. With the head and snare off, give your drum a good inspection and cleaning. Look for signs of wear and rust. If you find rust, sand and paint. Slide the new top snare in its place and tighten up the tension enough to make sure it does not move while you install the new top head. |
||||||||||||||||||||||||||
 |
Put the new top head on. If you don't center the drum head logo WRT to your carrying harness, you will hate yourself later.
Get it tight enough to get a reasonable sound, but be careful to not over tighten,
because you need to 'tune' with the other snare drums in your group. Tighten the tension on the snare and raise it into position. |
||||||||||||||||||||||||||
 |
Flip the drum over. Bottoms up. |
||||||||||||||||||||||||||
 |
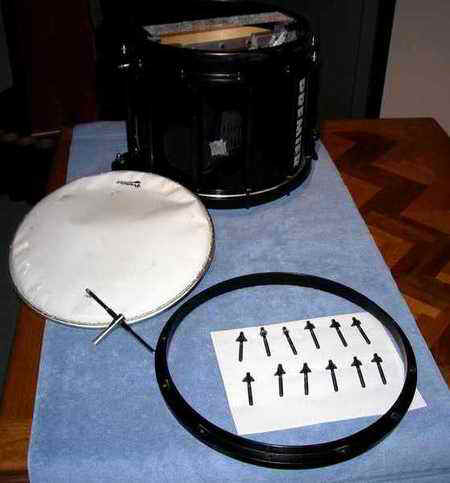
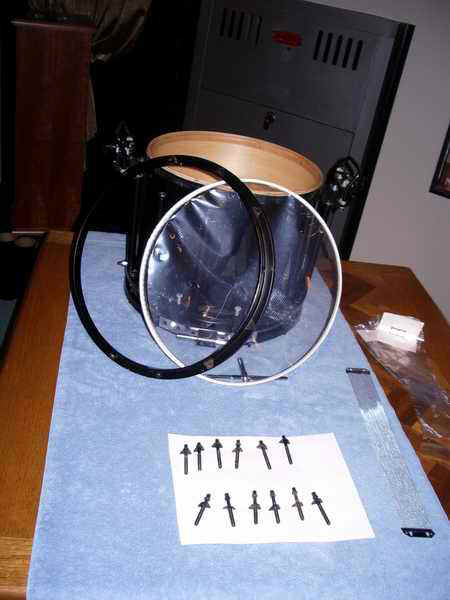
Spin the knobs on the lower snare until you can lift the
snare off the traction pins on each side. Loosen the bolts for the bottom head. Most likely you will hear some cracking and creaking. Remove the bolts the rest of the way and place them on a piece of paper.. greasy again.
|
||||||||||||||||||||||||||
 |
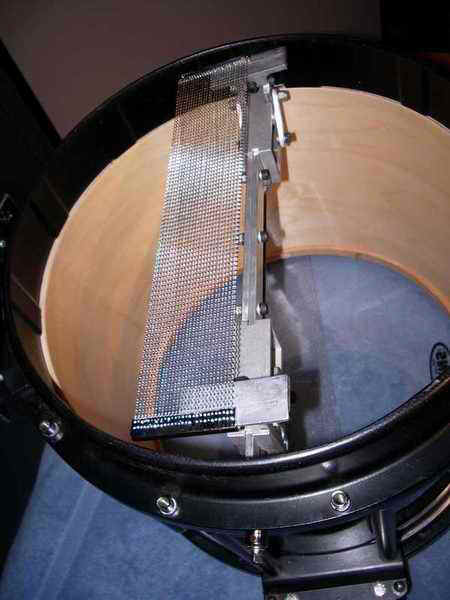
As with the top head, now is a good time to inspect and
clean your drum.
The rim will probably sit higher than it was since the old head was stretched. You may need to adjust the snare mounts up a bit. If you do, make sure it is even on both sides (easier to tell after you put the snare in place). Put the snare in place and look at how it sits on the drum head. It should be taught with only a paper thin gap between the snare and drum head. Over the next few days monitor these bottom bolts closely. They will need some tightening as the head settles in. If you are not mindful, the bolts vibrate out while you are on parade. |
||||||||||||||||||||||||||
 |
That's my best guess at how to do it. Cheers!
Patrick |